

Super Smash Bros. Characters Tier List, Ranked
Fifty-two fighters, one very long argument. We pulled together what competitive players, casuals, and tournament results broadly agree on across every Smash Bros. game, from the N64 original to Ultimate's absurd DLC run, and shook out a ranking that tries to capture both power and legacy.
This isn't just a tournament tier list. We're weighing how fun a character is, how well they've aged, how iconic their inclusion felt, and yes, how often they wreck people online. Disagree with where your main landed? Good. That's the point. Make your own list and yell at us about it.
The tier list
The community’s tier list fills in as members vote. It appears once 5 members have ranked or voted on these.
Think you can rank them better?
Make your own tier listFree account. Your ranking stays private unless you share it, and it counts toward the community tier list.Vote
SS Tier: The icons who define the game
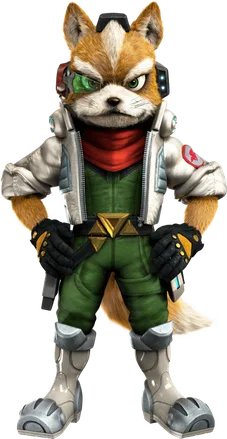
Fox
The Melee shine alone built a competitive scene that's lasted over two decades. Fast, sharp, and unforgiving to play against, Fox has been near the top of every tier list since 1999.
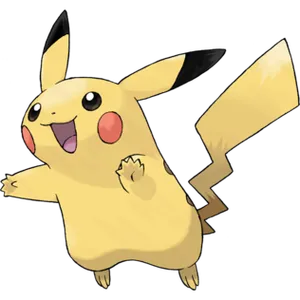
Pikachu
Small hurtbox, absurd recovery with Quick Attack, and speed that punishes any hesitation. Pikachu's been a top-tier menace in nearly every Smash game, and nobody's surprised anymore.
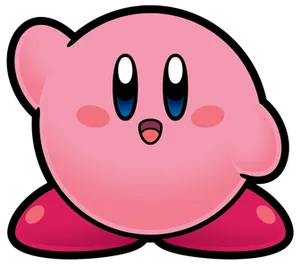
Kirby
The only fighter who's shown up in all of them, and he's never been truly bad. Multiple jumps and a copy ability that steals the best parts of everyone else's kit, what's not to love.
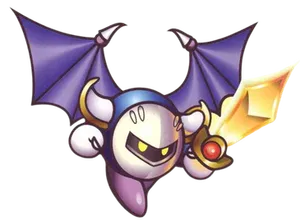
Meta Knight
Brawl-era Meta Knight was so dominant some tournaments banned him outright. He's been nerfed into a more reasonable shape since, but that sword still swings faster than it has any right to.
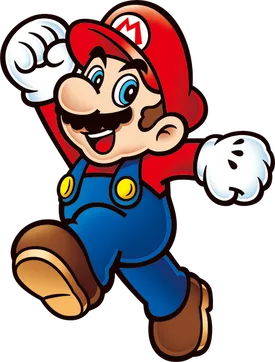
Mario
The default pick for a reason. Fireballs, a reflecting cape, and a kit so well-rounded that every Smash game since the N64 original leans on him as the measuring stick for everyone else.
AA Tier: Consistently excellent
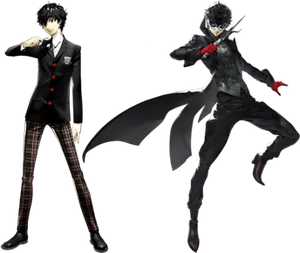
Joker
The Persona summon turns him from solid to terrifying once the Rebellion Gauge fills. Widely considered one of Ultimate's best-designed and strongest DLC additions.
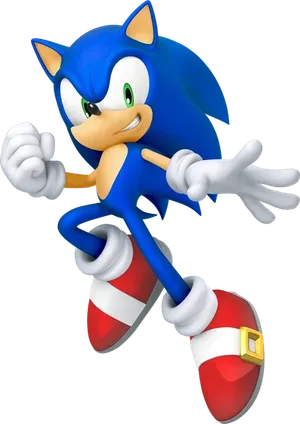
Sonic
Nothing in the game outruns him, and the spin dash game forces opponents to guess constantly. He's a love-him-or-hate-him pick, but the results speak for themselves.
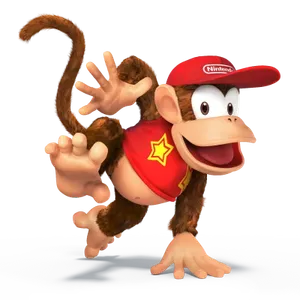
Diddy Kong
Those banana peels made him one of the best characters in Smash 4's competitive scene. Even toned down since, the trip setups still make him a nightmare to face.
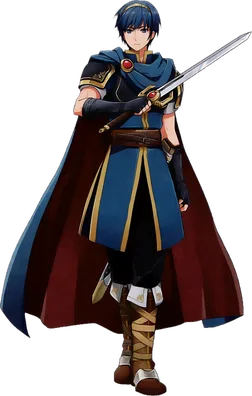
Marth
The tipper mechanic he introduced in Melee shaped how an entire generation of swordfighters got designed. Clean range, reliable kill moves, still a top pick decades later.
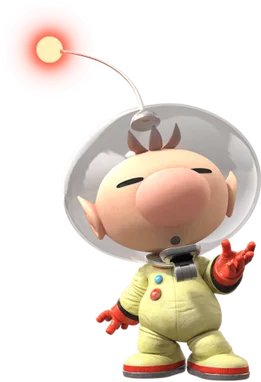
Olimar
Command a squad of Pikmin and you've got some of the best grab range and damage output in the cast. Lose track of your Pikmin colors, though, and you're in serious trouble.
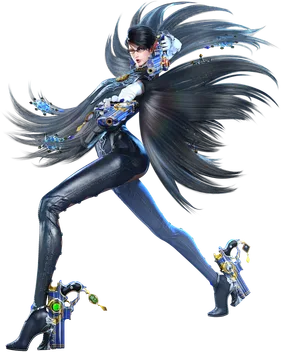
Bayonetta
Smash 4's undisputed best character, full stop, with combos that could take a stock from a single hit confirm. Ultimate hit her with heavy nerfs, but the bones of that kit are still dangerous.
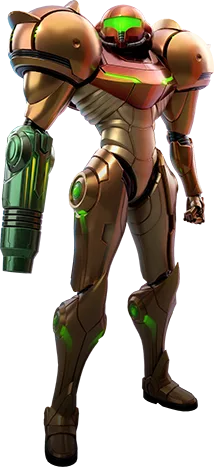
Samus
Charge shot zoning plus one of the best recoveries in the game, courtesy of the Screw Attack. She's been a quietly strong pick since 1999 without ever feeling flashy about it.
Peach
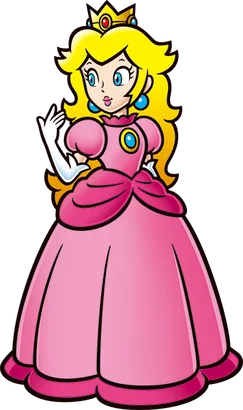
The float. That's really the whole pitch, and it's enough. Peach has been a top contender since Melee, turnips and all.
Steve
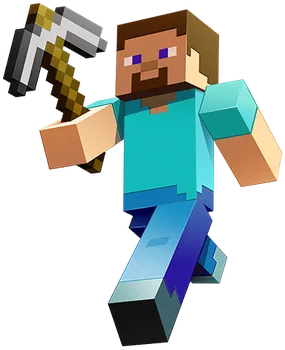
Love him or despise him, the mining mechanic rewrote how people approach Ultimate's meta. Block placement alone makes him one of the most disruptive characters ever added.
Snake
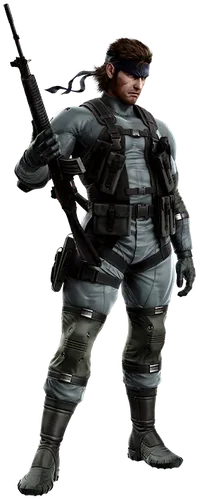
Grenades, C4, a rocket launcher, Brawl's Snake played like he wandered in from a different genre entirely and still fit right in. Glad Ultimate brought him back.
Luigi
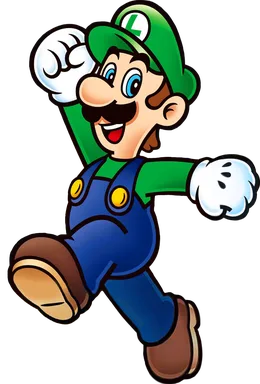
Luigi has one of the best tilt and aerial games in the cast, and his misfire and cyclone give him real kill power most floaty characters lack. His traction makes him slippery to approach, which frustrates a lot of matchups in his favor. He lands squarely in B tier, strong fundamentals held back by a recovery that punishes any mistake.
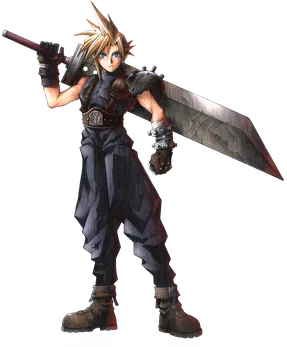
Cloud
Cloud brings strong range, speed, and a Limit Break that can shift momentum in an instant. His disjointed sword hitboxes and fast aerials make him a threat in neutral, but he lacks reliable combo game once Limit runs out. Solid B tier pick, good but not quite top tier material.
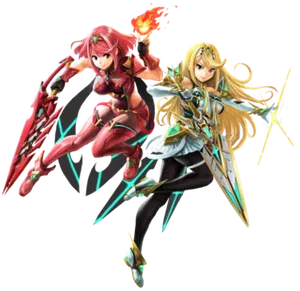
Pyra and Mythra
Two fighters in one slot gives them insane versatility, Pyra's power and Mythra's speed cover each other's weaknesses. The swap mechanic takes practice but rewards players who master the timing. Solid B tier, strong tools but not quite top tier consistency.
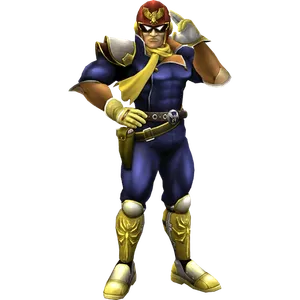
Captain Falcon
Falcon Punch memes aside, this guy brings real speed and knockout power to the table. Falls off hard against characters who can zone him out, but his falcon kick and combo game keep him solidly above the midpack scrappers. A fun pick that rewards aggression, landing him comfortably in A tier.
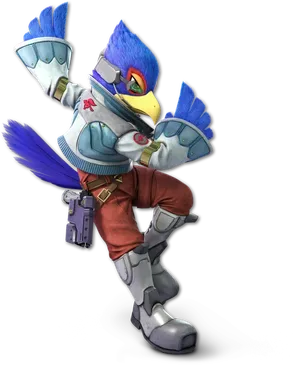
Falco
Falco brings blazing speed, a brutal combo game, and a laser that locks down approaches better than almost anyone else's projectile. His reflector and strong smash attacks punish mistakes hard, but his recovery is predictable and exploitable, keeping him just below the top tier. Still a nightmare in the right hands and a staple pick across Smash games.
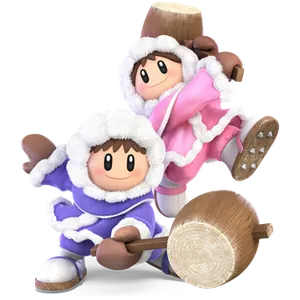
Ice Climbers
Two characters, one grab, infinite punishment. When they are synced up Ice Climbers desync combos and chaingrabs turn stocks into nightmares before the opponent even gets a say. The catch is Nana: lose her and the whole gimmick collapses, which keeps this duo out of S but their ceiling is still terrifying enough to sit comfortably in A.
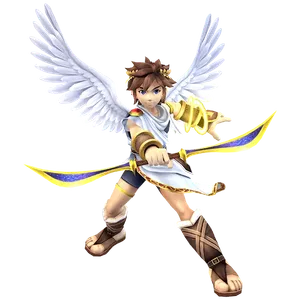
Pit
Pit has one of the best recoveries in the game and a reflector that punishes projectile spam. His arrows, dash attack, and up smash give him reliable kill power and solid neutral tools across most matchups. He is not quite top tier but he hangs with the A tier crowd thanks to his consistency and lack of glaring weaknesses.
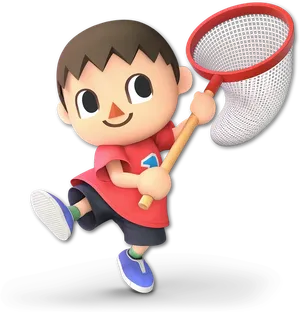
Villager
Villager turns everyday objects into a nightmare of lumber, fire, and rockets. Pocket, timer, and the tree combo punish any approach and reward patient, brainy play. A menace in good hands and still slippery in bad ones, which is why Villager sits comfortably in A tier.
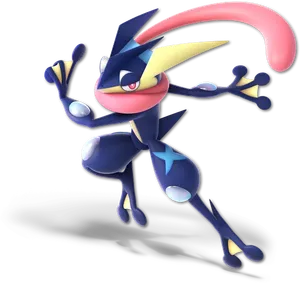
Greninja
Fast, slippery, and loaded with combo potential, Greninja punishes any whiff with a quick dash attack or shadow sneak read. Its recovery is one of the best in the game and its frame data rewards aggressive, precise players. Solid matchup spread keeps it comfortably in A tier.
BB Tier: Solid, reliable picks
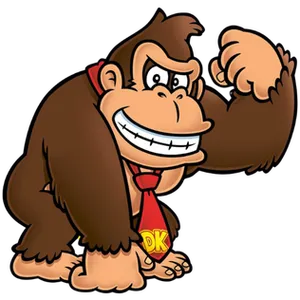
Donkey Kong
That grab range and the Giant Punch charge make him scarier than your average heavyweight. Not the flashiest kit, but reliable in a way big characters rarely are.
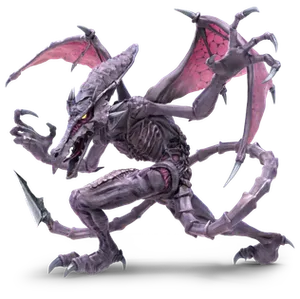
Ridley
Fans wanted him playable for years, and Ultimate delivered a fighter with real range and a surprisingly mobile kit for something that size.
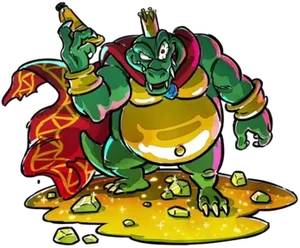
King K. Rool
A heavyweight stuffed with Donkey Kong Country references, the belly armor and crownerang give him more tools than most super heavies get.
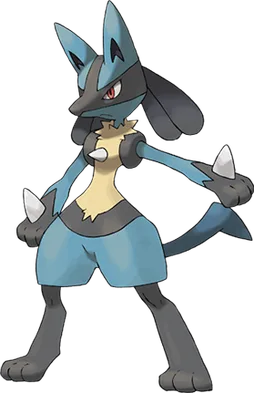
Lucario
Aura scaling means a Lucario at low health hits like a truck. The risk of a late comeback keeps opponents honest the whole match.
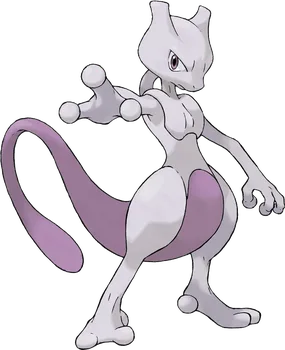
Mewtwo
Floaty and long-limbed, with a tail attack that covers more space than it looks like it should. Getting cut from Brawl still feels like a crime.
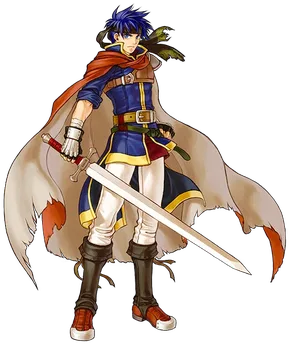
Ike
Ragnell is enormous and so is the damage it deals. Slow, sure, but landing one aerial changes the whole flow of a stock.
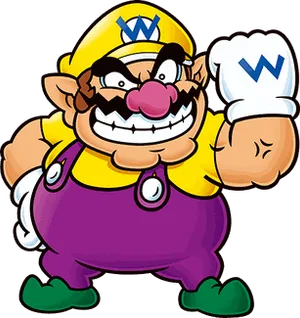
Wario
The bike, the bite grab, and the Waft make him one of the weirdest, funniest kits in the game. Underrated by people who've never had one farted on them at 150%.
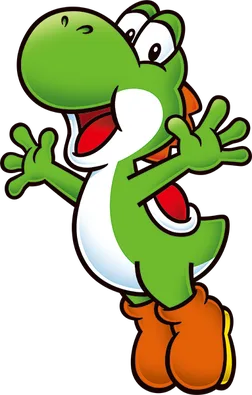
Yoshi
No traditional recovery move, just a double jump with armor that eats through attacks that would stop anyone else cold. It's a quirky design that's held up remarkably well.
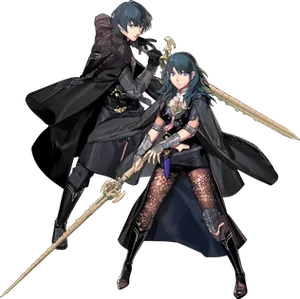
Byleth
Four weapons and the best range in the cast outside of a handful of specialists. Written off as a 'sword clone' by some, but the spacing tools are legitimately strong.
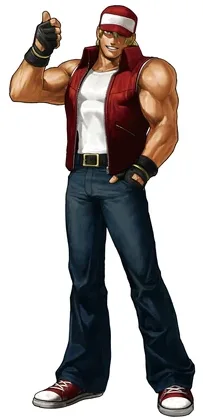
Terry
Go mode at low percent turns him into a different character, with command inputs for extra power. Fighting-game players feel right at home immediately.
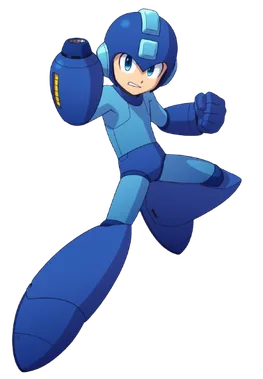
Mega Man
Almost entirely projectiles, which makes him feel less like a brawler and more like a puzzle you're solving from a distance. Faithful to the source material to a fault, in a good way.
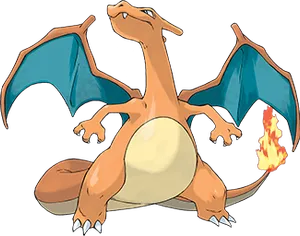
Charizard
Freed from Pokemon Trainer duty in Smash 4, he's got big fire normals and solid air mobility, even if he's a bit floaty for a dragon.
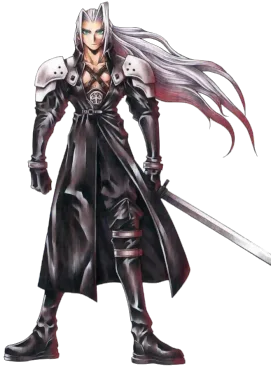
Sephiroth
The Masamune gives him absurd disjointed range, and One-Winged Angel at low HP adds a real damage spike. One of the showier DLC additions for good reason.
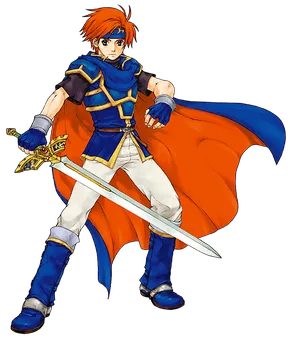
Roy
Sweetspotting near the hilt instead of the tip makes him feel more aggressive than Marth, with faster, closer-range kills to match.
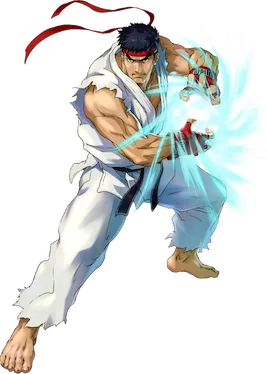
Ryu
Command inputs reward players with actual fighting-game muscle memory, and his frame data is lifted straight from Street Fighter. A genuinely different way to play Smash.
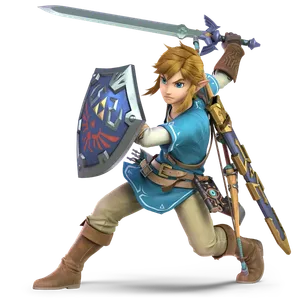
Link
Link brings reliable zoning with bombs, arrows, and boomerang, plus solid kill power from up air and smash attacks. He lacks the explosive combo game of the top tiers but punishes bad approaches hard and holds his own against most of the cast. A steady, well rounded pick that rewards patience over flash.
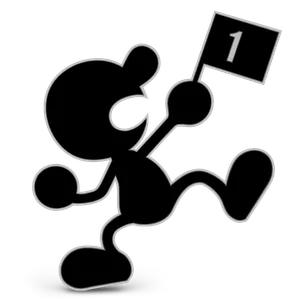
Mr. Game & Watch
Weird hitboxes and a one-size-fits-all bucket make him a nightmare to fight if you don't know the matchup. His recovery is quirky but reliable, and his smash attacks hit like a truck despite looking like flat 2D nonsense. He lives in B tier thanks to disjointed, awkward tools that reward players willing to learn his oddball rhythm.
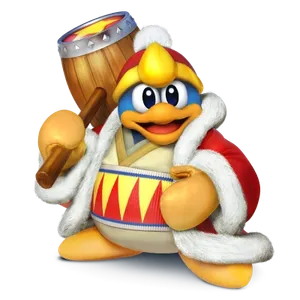
King Dedede
A big floaty body with disjointed hitboxes and a gordo to control space. He survives forever and punishes hard, but his recovery and mobility keep him out of the top tiers. Solid B tier, annoying to fight and easy to coast with.
CC Tier: Fine, if you're into that
Pac-Man
The Fire Hydrant and Trampoline are inspired touches pulled from decades of side material, but the overall kit plays more gimmicky than genuinely threatening.
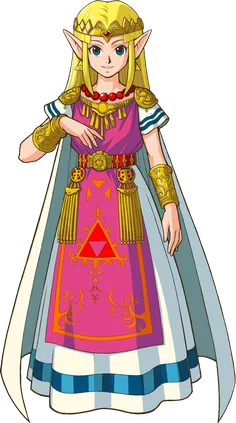
Zelda
Losing the Sheik transformation after Smash 4 took away half her identity. Din's Fire and the Phantom are fine tools, but she's floaty and easy to punish.
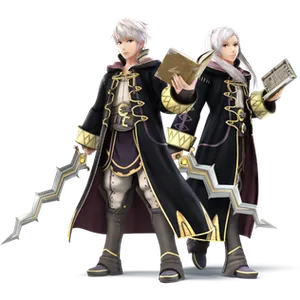
Robin
Managing weapon durability is an interesting idea on paper that mostly translates to awkward downtime waiting for Levin Sword to recharge.
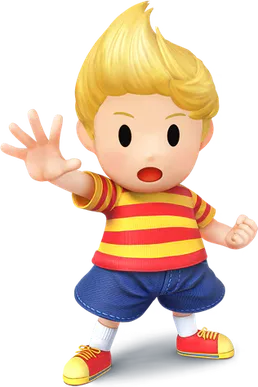
Lucas
PK Freeze and a tighter PK Thunder angle than Ness give him a slightly different flavor, but he's lived in Ness's shadow since Brawl.
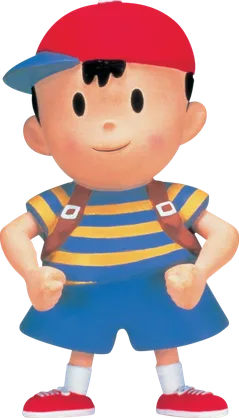
Ness
PK Thunder recovery is iconic and genuinely hard to execute well, which is exactly why Ness mains either look like geniuses or fall off the stage constantly.
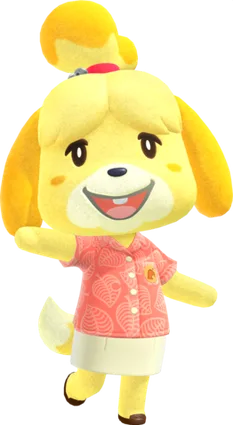
Isabelle
Fishing rod combos and a well-placed Lloid rocket make her far scarier than her cheerful design suggests. Still, she rewards very specific setups more than raw aggression.
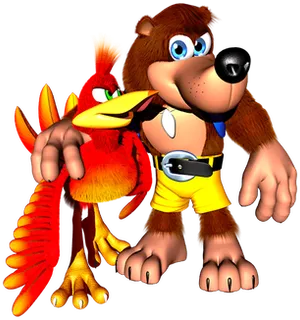
Banjo & Kazooie
A genuinely well-built moveset with eggs, wonderwing, and a solid recovery, but arriving years after the Microsoft buyout means the novelty's done more lifting than the kit itself.
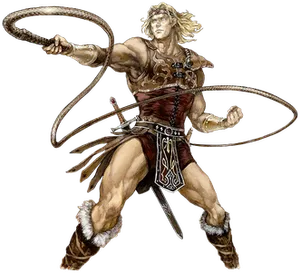
Simon
Whip range is great for keeping people out, but up close he's in real trouble. A zoning specialist who lives or dies on stage control.
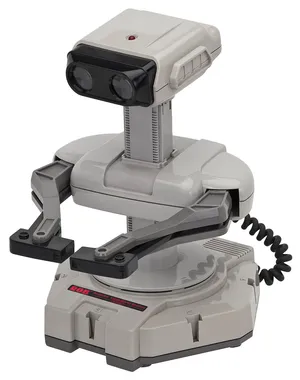
R.O.B.
The gyro and laser give him unusual projectile options for a character based on an NES peripheral nobody under thirty remembers using.
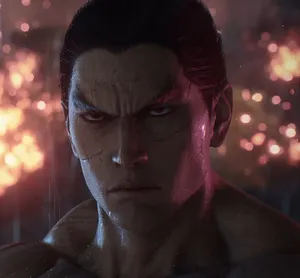
Kazuya
An almost one-to-one port of his Tekken kit, including the infamous command grabs. Incredible depth for players who learn it, brutal learning curve for everyone else.
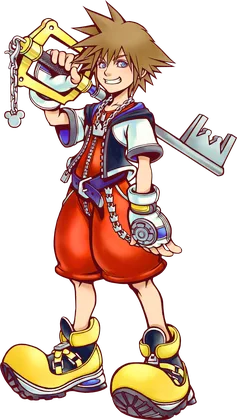
Sora
The final Fighters Pass character arrived with a fine, if unremarkable, Keyblade-and-magic kit that feels a little safe compared to the DLC characters before him.
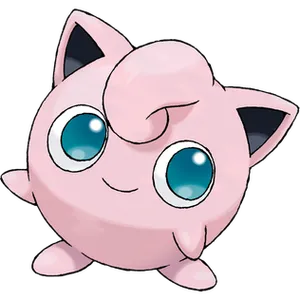
Jigglypuff
Rest can end a stock out of nowhere, and the air mobility is still there from Melee's glory days, but she's floaty, light, and gets bodied by anyone with range.
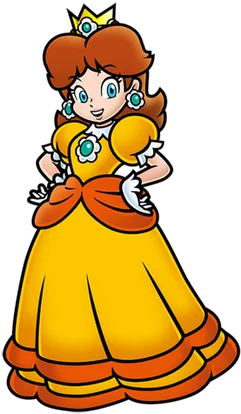
Daisy
An Echo Fighter sharing Peach's entire kit, so she's exactly as good as Peach is, minus the originality points.
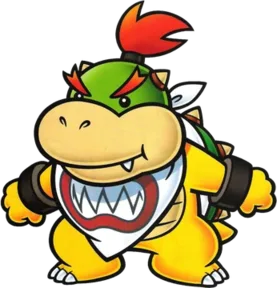
Bowser Jr.
Clown Kart shenanigans give him some gimmicks, but the hitbox issues and awkward disjoint make him a tough sell. He has combo potential in the right hands, but falls off hard against anyone who knows the matchup. Stuck in D tier with the other oddballs nobody wants to fight.
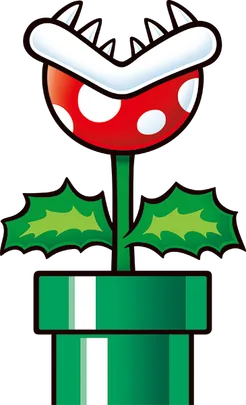
Piranha Plant
A weird little gremlin plant that nobody asked for but everyone ended up fighting against. Its long reach pokes and down special can annoy, but it lacks the mobility and kill power to really threaten the top of the roster. Fits right in with the other oddball bottom tier residents.
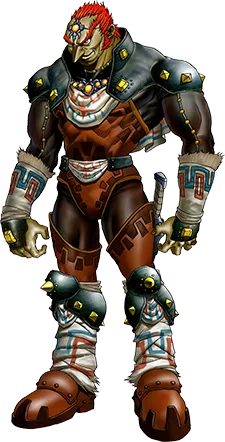
Ganondorf
Slow, heavy, and painfully easy to read once you know his limited options. He hits like a truck when his sword connects, but good luck landing it against anyone who respects his range. Years of patches have helped, but he's still stuck below the cast members who can actually catch up to the modern game's speed.
DD Tier: Rough around the edges
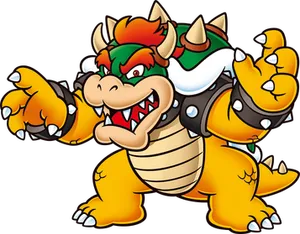
Bowser
Command grabs hit hard, but he's still a giant, slow target. Better than his Melee-era joke status, worse than the other heavyweights on this list.
FF Tier: Fans agree, this one struggles
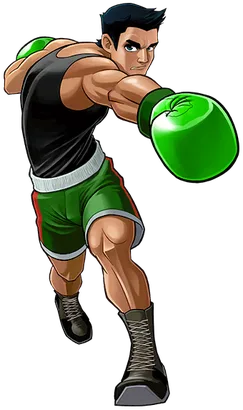
Little Mac
Terrifying on the ground, hopeless in the air, and basically helpless off-stage thanks to one of the worst recoveries in Smash history. Send him flying once and the match is over.
How we ranked them
We looked at competitive results and tier lists across Smash 64 through Ultimate, forum and community sentiment on which characters are overturned, underrated, or just plain miserable to fight, and general consensus on design quality and staying power. Characters who've topped tier lists for multiple games score higher, as do fighters with a strong, clear identity. We broke ties with our own judgment where the community itself is split.
Think we got it wrong?
Drag all 60 super smash bros. characters into your own tier list, then download the image or share a link.
Rank these yourselfFAQ
Who is the best Super Smash Bros. character overall?
There's no single answer across 20+ years of Smash, but Fox and Pikachu are the two characters most consistently cited as top or near-top tier in almost every game they've appeared in.
Who is considered the worst Smash Bros. character?
Little Mac is the most commonly cited bottom-tier pick, mainly because his near-nonexistent recovery makes him easy to edge-guard at any level of play.
Is Bayonetta actually broken?
In Smash 4 she was, topping most tier lists through brutal combo strings. Ultimate nerfed her hard, and she's a much more balanced, mid-pack character now.
Which Smash character has been in every game?
Kirby, along with Mario, Pikachu, Donkey Kong, Yoshi, Fox, and a handful of others from the original 1999 roster, has appeared in every Super Smash Bros. title.
Why do some characters share movesets?
Nintendo calls these Echo Fighters, like Daisy and Peach, or Richter and Simon. They're built on an existing character's frame with small cosmetic and minor stat differences.
More rankings
Image credits
- FoxCover: Wikipedia · Source
- PikachuCover: Wikipedia · Source
- KirbyCover: Wikipedia · Source
- Meta KnightCover: Wikipedia · Source
- MarioCover: Wikipedia · Source
- JokerCover: Wikipedia · Source
- SonicImage: Smashpedia (Fandom), © its owner · Source
- Diddy KongImage: Smashpedia (Fandom), © its owner · Source
- MarthCover: Wikipedia · Source
- OlimarCover: Wikipedia · Source
- BayonettaCover: Wikipedia · Source
- SamusCover: Wikipedia · Source
- PeachCover: Wikipedia · Source
- SteveCover: Wikipedia · Source
- SnakeCover: Wikipedia · Source
- LuigiCover: Wikipedia · Source
- CloudCover: Wikipedia · Source
- Pyra and MythraCover: Wikipedia · Source
- Captain FalconImage: Smashpedia (Fandom), © its owner · Source
- FalcoImage: Smashpedia (Fandom), © its owner · Source
- Ice ClimbersCover: Wikipedia · Source
- PitImage: Smashpedia (Fandom), © its owner · Source
- VillagerImage: Smashpedia (Fandom), © its owner · Source
- GreninjaImage: Smashpedia (Fandom), © its owner · Source
- Donkey KongCover: Wikipedia · Source
- RidleyCover: Wikipedia · Source
- King K. RoolCover: Wikipedia · Source
- LucarioCover: Wikipedia · Source
- MewtwoCover: Wikipedia · Source
- IkeCover: Wikipedia · Source
- WarioCover: Wikipedia · Source
- YoshiCover: Wikipedia · Source
- BylethCover: Wikipedia · Source
- TerryCover: Wikipedia · Source
- Mega ManCover: Wikipedia · Source
- CharizardCover: Wikipedia · Source
- SephirothCover: Wikipedia · Source
- RoyCover: Wikipedia · Source
- RyuCover: Wikipedia · Source
- Pac-ManPhoto: Bandai Namco Entertainment America, CC BY 3.0 (Wikimedia Commons) · License · Source
- ZeldaCover: Wikipedia · Source
- RobinCover: Wikipedia · Source
- LucasCover: Wikipedia · Source
- NessCover: Wikipedia · Source
- IsabelleCover: Wikipedia · Source
- Banjo & KazooieCover: Wikipedia · Source
- SimonCover: Wikipedia · Source
- R.O.B.Photo: Evan-Amos, CC BY-SA 3.0 (Wikimedia Commons) · License · Source
- KazuyaPhoto: Bandai Namco Entertainment America, CC BY 3.0 (Wikimedia Commons) · License · Source
- SoraCover: Wikipedia · Source
- JigglypuffCover: Wikipedia · Source
- DaisyCover: Wikipedia · Source
- Bowser Jr.Cover: Wikipedia · Source
- Piranha PlantCover: Wikipedia · Source
- GanondorfCover: Wikipedia · Source
- BowserCover: Wikipedia · Source
- Little MacCover: Wikipedia · Source
- LinkImage: Smashpedia (Fandom), © its owner · Source
- Mr. Game & WatchCover: Wikipedia · Source
- King DededeImage: Smashpedia (Fandom), © its owner · Source